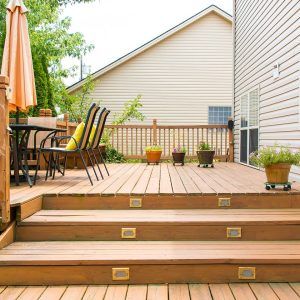
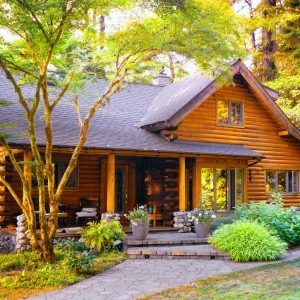
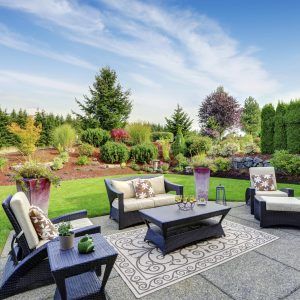
There is nothing like socialising with friends in the comfort of your own home or garden. This is just one of the reasons why so many people have set up their bar in their garden, patio, garage or around the house.There is no limit on how you can set up your bar, but making a DIY pallet bar is an excellent option. This is an affordable solution that carries a rustic charm and down-to-earth nature.
Wooden Pallets Transform Your Terrace or Garden Space
If you want something simple but which feels like the ideal place to drink and relax, making a garden bar with pallet wood is a brilliant use of your time and effort.

If you have spare wood, it’s easy to be inspired by other backyard projects and transforming your home space with wood is one of the best ideas you’ll have and it helps towards making our planet sustainable!
What Items Do You Need to Make Your Bar?
It helps to start with a list, and you’ll need these for the best garden bar, home bar or man cave in your town:
- Wooden pallets (number depending on the size of pallets and how big or long the bar should be)
- Coach bolts
- Assorted sandpaper
- Carabiners
- Drill
- Eye hooks
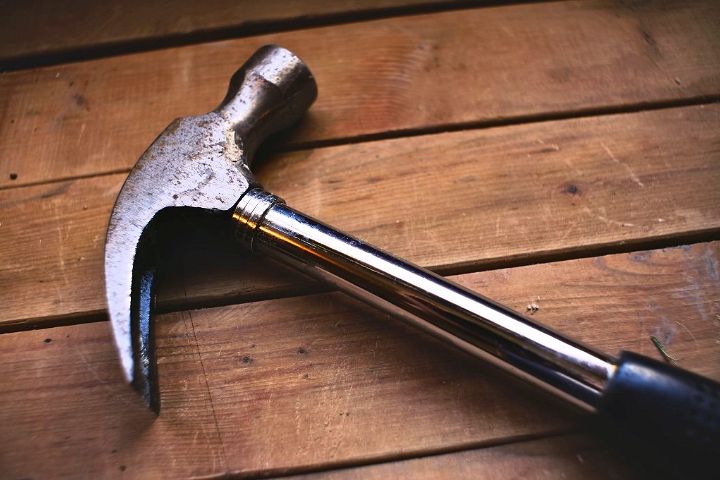
- Hammer
- Hand saw
- Holesaw kit
- Nails
- Sander
- Screws
- Stapler
- Wrecking bar
Making Your Outdoor Bar
You might be surprised at how easy it is to make your outdoor bar. You can buy a brand new one, but you don’t need to. With a bit of DIY skills and perspiration, you can have a brilliant bar that you, your family and friends love.
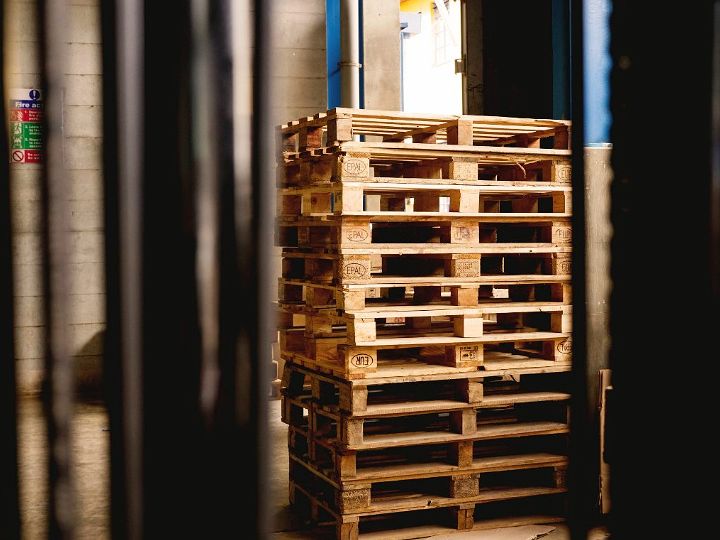
There is no right or wrong way to find pallet wood. You can buy pallet wood from many places, but if you have access to wood for free, or a low-cost, you should take this option. A DIY pallet bar doesn’t have top cost a lot of money, and it will be your own bar to love and spend time in.
Removing the Planks of Pallet Wood
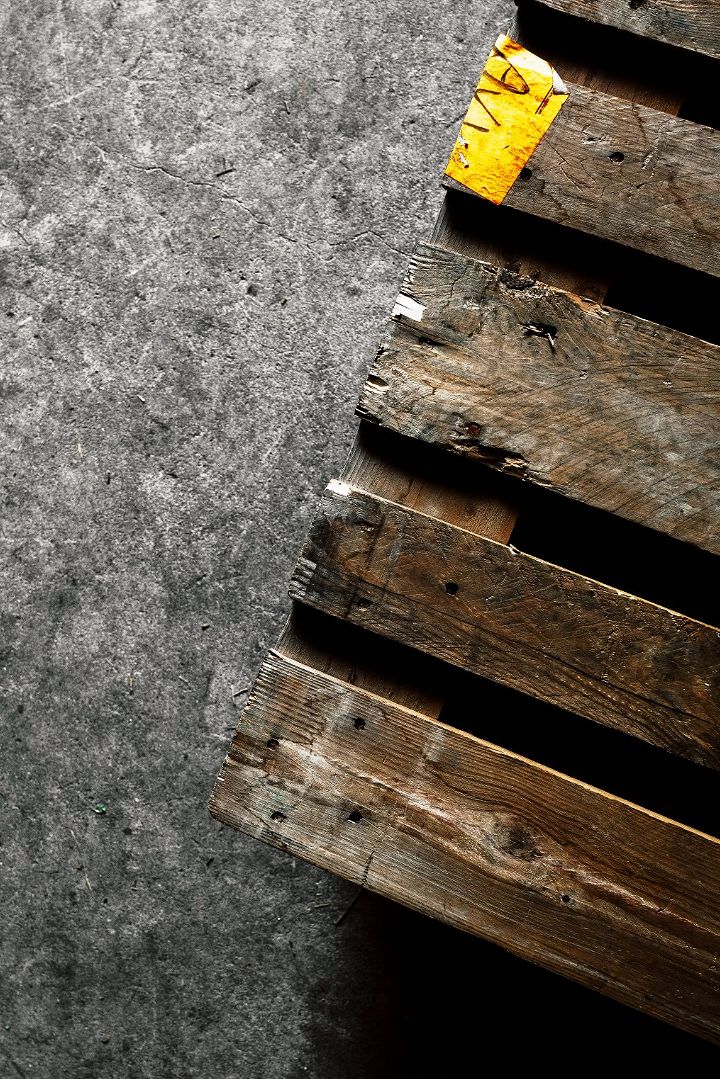
The first step involves removing planks, separating them from your pallets. Whatever you have that allows you to do this safely is advisable, with a wrecking bar a sensible option.
You should form the side supports into the shape of an L, and then fasten them with screws. You should then repeat this for the other side of the bar. These pieces form the upstanding corners, placed at the rear of your pallet bar.
Assemble the Back of the Bar
Everyone might not see what goes on at the rear of your pallet bar, but it is an integral part of the process.Pull planks together, leaving no gaps, and then screw these planks into the corner supports. It would help if you considered adding a plank at the top. This creates a central support and provides more structural integrity for the bar.You don’t need to complete the back for the whole bar, only the section which will be visible. Not covering the entire bar saves on wood, and it leaves a gap to run wiring or cables through if required.
Constructing the Different Sides
The next step is to create a support for the drop-down area of the bar. You should measure from the bar’s base to the wooden board on the counter. You will want two side supports of this length.Place these planks together, and then add the side supports. You want to position the side supports inset from the plank ends. This makes sure the drop-down panel can fit inside the bar’s corner supports.
Build Your Angled and Flexible Bar Top
The first step is to cut an angle off the lower corner support found at the bar’s front. This creates a sort of lever which allows you to enjoy a drop-down bar.
Position this drop-down element ahead of the bar and drill through the corner and drop-down support. This is where the coach bolt comes in, and you should place this through the drilled hole. This will serve as the hinge, and you should repeat this process on the other side.Of course, if you want something more robust, a concrete top is a sound investment, especially if you add a draught tap.
Make Holes Where You Can Serve Drinks!
This is an additional step if you want to have the most stylish garden cocktail bar. If you serve up cocktails or pints, drill a hole that fits your glasses perfectly.
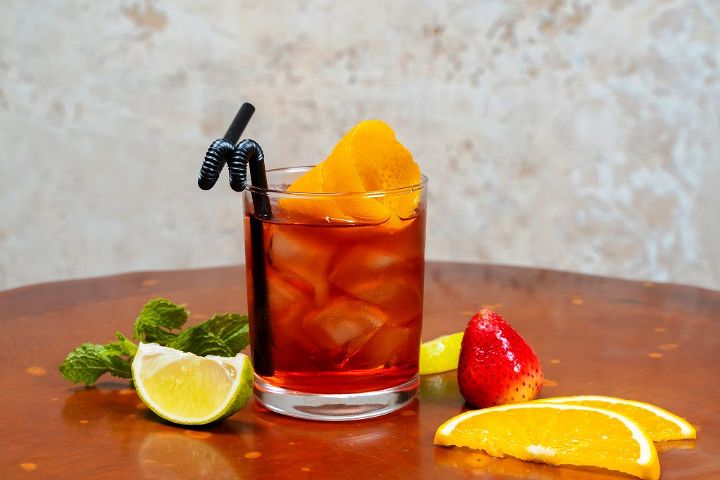
Whatever you have that will cut a hole near the rear of your top layer will suffice, with most people using a tank cutter. Be sure to measure your glasses, and make sure these holes are big enough to allow your favourite beverages to perch neatly on the bar.You don’t need to do this step, but if you have bar stool chairs and seats around the bar, this will be a convenient addition to the bar.
Finish the wooden pallet bar in the style of your choosing
Now, there is nothing wrong with the rustic style. If you want to leave your pallets as they are, you can do so. It would help if you sand down rough wood edges and making it as smooth as possible, but you don’t need to do much work.Of course, if you want to paint the bar or add some accessories, this is the perfect time to do so. If you have an artistic streak or you have some great ideas for decorating pallet bars, its also possible to spray paint furniture so let your imagination run free!
Wooden Pallet Bars Allow You to Party All Day and Night
Some bar owners run lights (which is why it’s handy to leave a gap at the back of the bar), so you can party into the small hours. However, it is your bar, and you are free to finish it however you like!A personalised sign is a common feature in many bars, and again, this can be painted to your style and preferences. If you have a name for your DIY bar, paint it on top, and let the world know what they should call your DIY pallet bar.
DIY Bar Accessories Work Well with Pallet Bars
Depending on how ambitious you are, there are many ways to make the biggest and best easy pallet bar. Wooden pallets can also be used for shelves, a cooler made from pallets, a counter or even a display rack. You can also use other material such as plywood to complete your wooden pallet bar.
A Great Spot Starts with Big Ideas, Some Wood
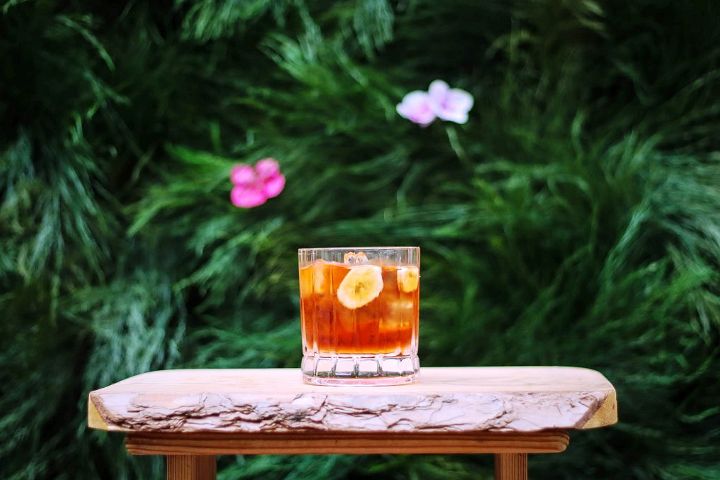
You might be surprised at how old wooden pallets can be transformed into something stylish. However, it doesn’t take a lot of work to make an DIY pallet bar, giving you the garden bar or man cave drinking spot of your dreams. Also, be prepared for a visit from friends more often!


